Reseller Guide: Complete Your Notary Hub Account Setup
Applies to: Resellers

NotaryHub Team
Last Update hace 4 años
Welcome! We're so glad you're here with us!
The mission of NotaryHub.com, by Everything Legal, is to revolutionize and centralize notarial operations by enabling every licensed Notary to accelerate business and personal transactions for every person, anywhere, and anytime through our accessible remote platform.
We hope you find this guide helpful as you launch into your journey as a Reseller for Notary Hub.
Getting Started
You will receive a welcome email from Everything Legal with an invitation link to activate your account and set up your password:
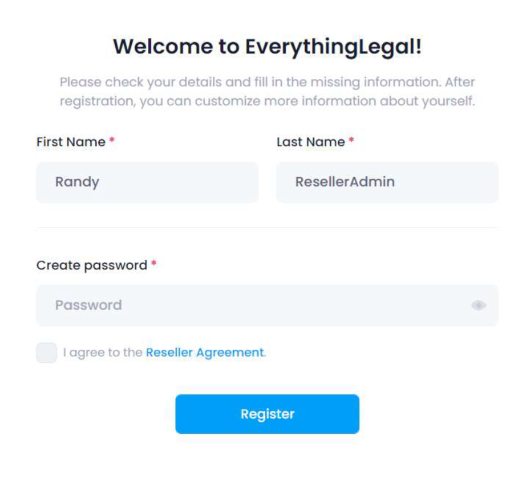
Be sure to check that your info is correct, and check the box to ‘Agree to the Reseller Agreement’ (Important onboarding step)
After you click register you will be taken to your Reseller dashboard:
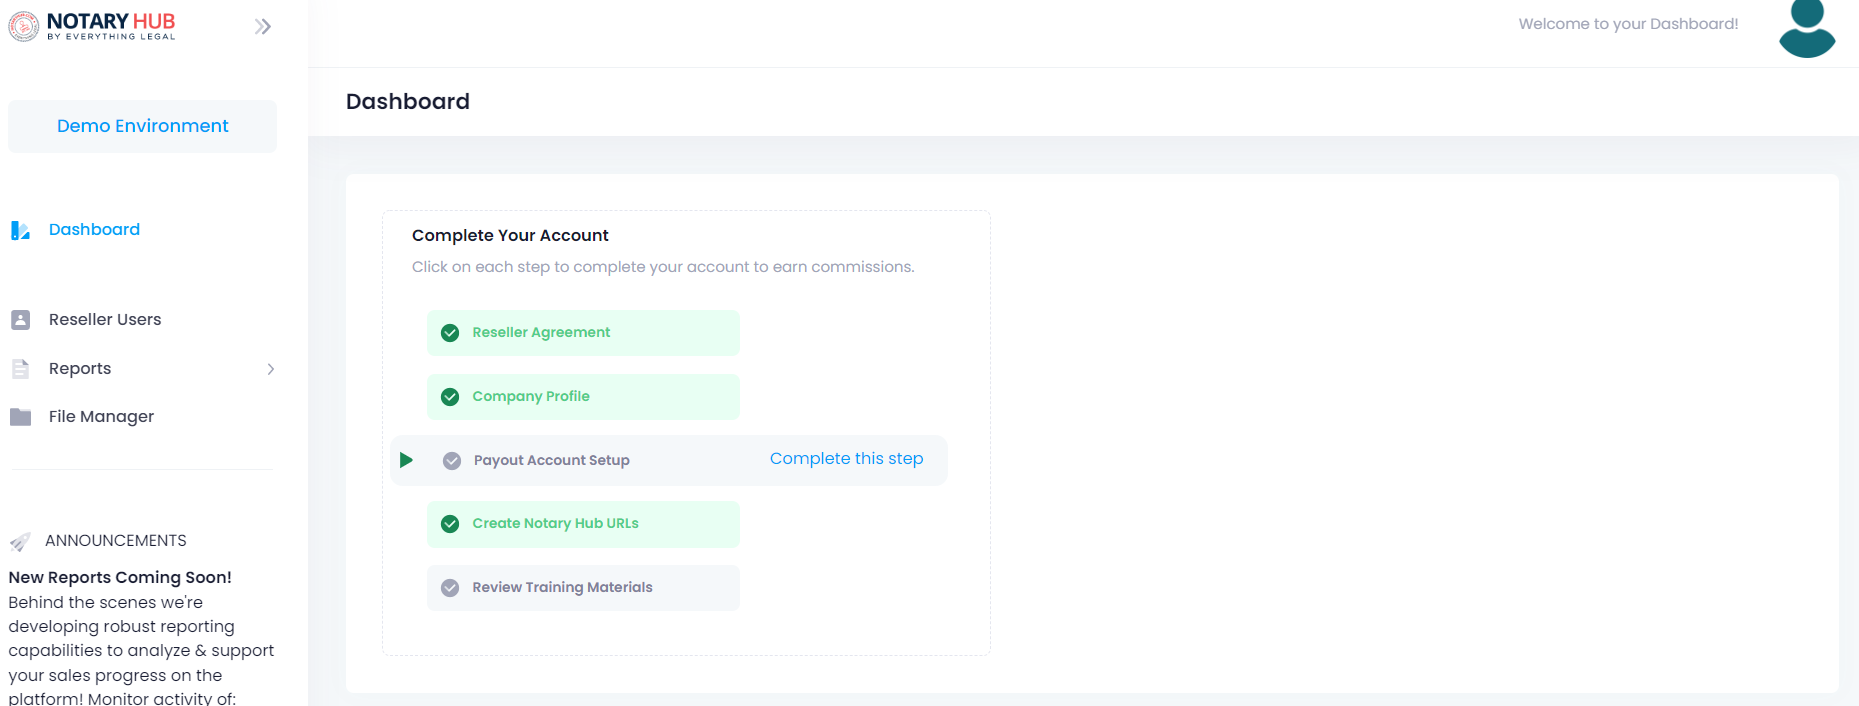
Complete Company Profile Setup
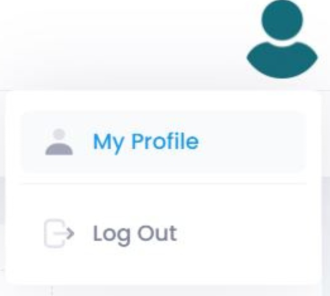
Click the link directly in the account setup bubble or follow the “person” icon in the top right corner to get to your company profile - Add a profile picture and edit any other basic profile info you may need to.
You can access the next account setup step (My Notary Hub/Commission Credit URLs) while still in your profile page (you can also click the link in the account setup step)
Setting up your custom URLs
Scroll down until you see the section with “My Notary Hub URLs/Shareable Commission Credit URLs”

This is where you can set up your custom URLs to track your sales/commissions earned from you or your reseller team, by inviting notaries to join the platform:
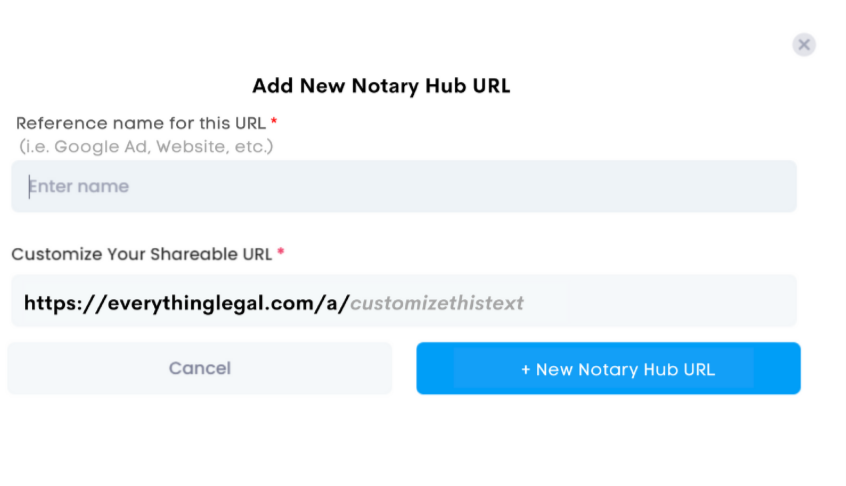
This is your unique link to share with your notary clients, so try to make it something meaningful to you for your reference. What you enter as the name will be for your internal organization (to track how your URLs/sales funnels are performing) and what will create the direct path to you (so we can pay you your commissions!)
Your custom/shareable link is editable at the end of the URL and will show where “customize this text” is.
**It is highly recommended that you complete your account setup steps before anything else, so you can be on your way to earning your Fast Track Bonus of $500!!**
Inviting/Managing Your Reseller Team
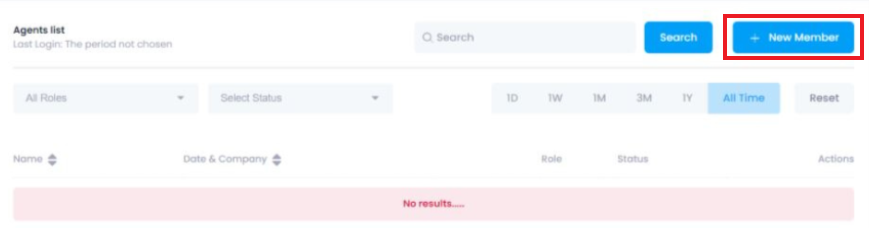
From your dashboard, select ‘Agents List’ (Your list will show ‘No Results…’ when you first access this page)
On the top right, select ‘+ New Member’
In the ‘Add New Member’ dialog box enter your users info, and select their role (only one role to select currently) within your company:
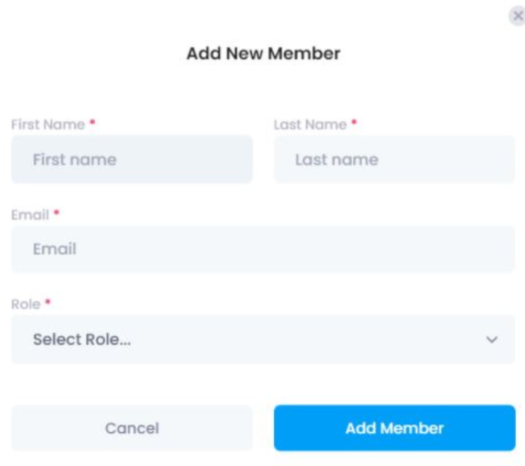
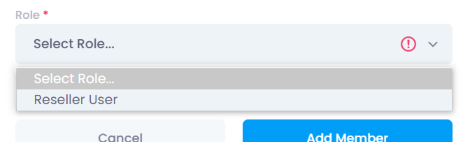
After you finish entering their information, and assign their role (can only assign Reseller User currently) select the blue ‘Add Member’ button to send them a welcome email like the one you received, that will contain the invite link to access their new profile and set their password.
Once you have invited your reseller team member, you will be able to monitor their progress on the site via the Reseller List:
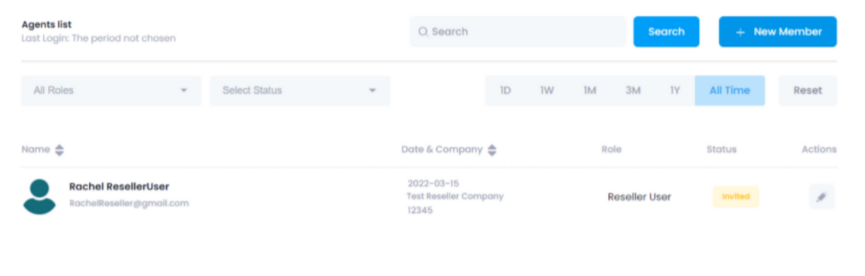
You can see that the user you just invited will have a yellow ‘Invited’ status, once they follow the link in the welcome email and set their password, their status will change to a purple ‘Onboarding’ status:

Once they complete setting up their account, their status will change to a green ‘Complete’ status.
Continue to add your Reseller Users until you’ve got your whole team onboard, and then you’ll be all set to bring notaries onto the platform and start working towards that $500 bonus and ongoing commission revenue!
Be on the lookout for announcements of new knowledge base articles specifically for Resellers!
There will be much more to come!
In the meantime, do not hesitate to reach out to our team if you ever need assistance.